Wallpaper removal can make some people cringe just by hearing about it. It can be a difficult task if you don’t set yourself up for success from the beginning. Below, I’ll go over some of the different ways you can remove wallpaper, and hopefully, help you pick which method is right for your project.
 First, like we talked about in our last blog, you need to know that you don’t always have to remove wallpaper. So, let’s take a few things into consideration. Leaving your wallpaper up means that the drywall or plaster under it will remain intact. If fixing possible issues with your walls is not a project you want to take on now, this is probably your best option. On the plus side, leaving the paper up will make it easier and quicker for you to paint those walls.
However, if you don’t remove the wallpaper, there is a possibility that seams will show through your paint job then. Some wallpaper is textured or may have a pattern that will show through as well. Those issues can leave you with a completed project that just looks messy or incomplete still. Another issue that you could run into, is that the moisture from your paint could loosen the adhesive of your wallpaper, which could have sections of it coming detached or cause it to bubble. You’d have to remove all the wallpaper then, with the added hassle of just having painted over it all. Painted wallpaper can be really difficult to remove, so if you can save yourself from that, just remove it.
Now that you’ve decided to remove your wallpaper, the next step is to prepare your area. No matter what method you decide to choose, you will make some sort of mess. To start, take everything off the walls and remove as many of the decorative items and furniture as you possibly can. You should cover everything that might be left with drop cloths or tarps. Placing towels along baseboards and plastic drop cloths over those will help prevent messy scraps from getting everywhere. In general, an average sized room should take you about a full day to remove all of the wallpaper.
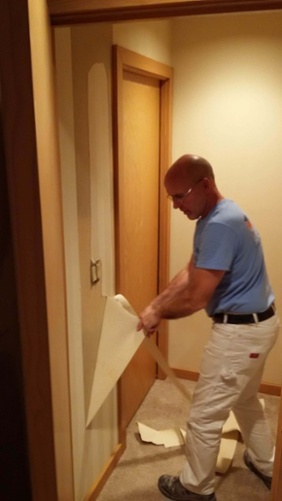
After you’ve prepped your area, you need to pick which method is best for you. And if you thought about it before you picked your wallpaper, you might have a pretty easy job. What I mean by that is that some wallpapers are strippable or peelable. To check and see if you have one of these types, find a corner and use a scraper to help lift it, then slowly and gently try to peel it up the wall. If it comes off easily, just repeat this step for each strip. You should wash all of your walls after, with warm water or a solvent, to help remove any adhesive that might still be left on the walls. Do not leave the adhesive on there, no matter what the condition is.
The other easily removable wallpaper is the washable kind. To remove this, use a scoring tool or a serrated scraper to help make slits in the paper. You could even use an old dinner fork if you don’t have anything fancy. Then, soak the paper with warm water using a sponge or rag. For the next part, get a cup of coffee, because you need to wait for the water to soak into the adhesive and loosen it. Depending on how much water you use, this could take awhile. After the paper is loosened, just scrape it off. Make sure to be careful, so you don’t gouge your walls while doing this part.
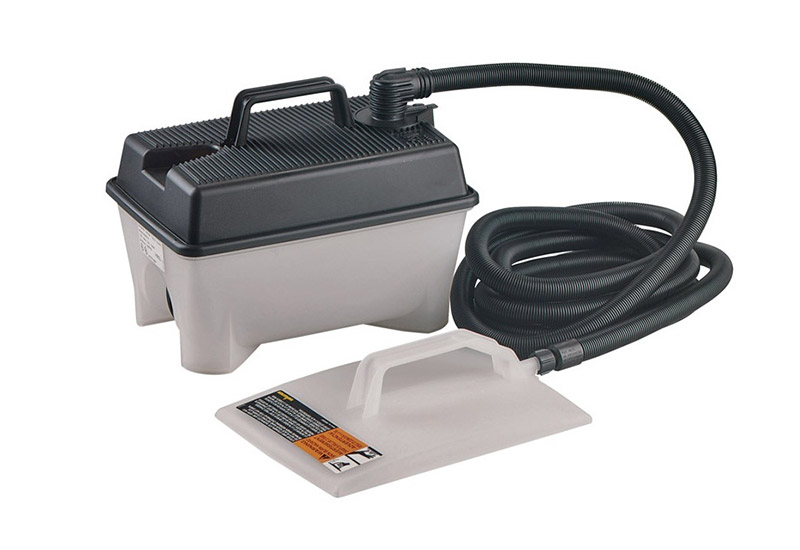
Steam is another type of method you could use, though it is not used as often anymore. Most of the issues with this method lie in that it can burn your hands and that it takes twice as long to strip your walls. It’s basically used as a last resort for stubborn wallpaper since there are more effective methods. To do this method though, it’s best if you just rent a steamer, since buying one will be impractical, unless you plan to use it again. The machine itself is very simple to use. You turn it on and wait for it to heat the water you’ve added to it. Then, once steam starts to emit from the plate, hold the hose over the wallpaper, and very slowly run it down the wall. The adhesive will start to loosen from the steam, and the paper can be scraped away. It’s best if you do this in small patches, instead of trying to steam the whole wall at once. Make sure to always wash your walls thoroughly after removing any wallpaper to make sure you remove any adhesive that may be left.
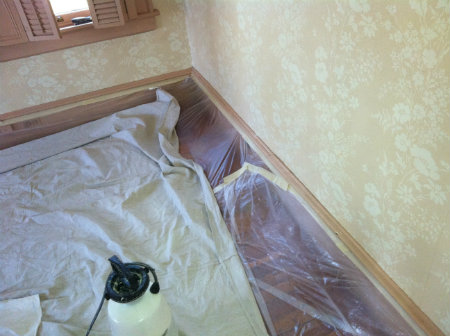
The last method, and probably most common, is to use some sort of liquid or gel removal agent and water. They all work about the same, so it’ll be a matter of your preference then. This method is very similar to the washable wallpaper. You will need to score the paper first if it has a water resistant coating on it. Next, apply your solvent. You could use a sponge, rag, spray bottle or paint roller. Some of those options will be messier than others, so make sure you’ve done a good job completing your prep work first! If you’re using a liquid detergent and water, add a handful of cellulose paste to each bucket and it’ll help hold the water on the wall better. After you’ve applied your removal agent to the wall, you’ll have to wait anywhere from 20-30 minutes, depending on manufacturer recommendations, for the paper to loosen. If you try to scrape it off too soon, you could gouge your walls. Which, if that happens, all you need to do is check out our Interior Painting Prep Work blog on how to skim coat your walls.
 Once you’ve removed all your wallpaper, washed your walls of any remains of adhesive, and fixed any possible gouges or other issues, you should be ready to prime. It’s important that you use an oil primer after removing wallpaper, as it helps seal out any residual glue that may be left after you’ve cleaned. Otherwise, the glue reacts to the latex in paint, which could cause it to crack and chip. The last step is to finish your walls with 2 coats of quality latex paint. Keep an eye out for our up coming blog about the best interior paints if you’d like some ideas about what kind to use.
Have any tips or tricks of your own for removing wallpaper? Share them with us in the comments below! Or if you’re curious about our prices for removing wallpaper or interior painting, click the link or give us a call!

